In the last post I wrote about how to configure webpack so we can use it to handle modules and dependencies for a Rails project and everything we need to start developing our Rails + Flux with Marty.js example application. Now it’s time to take a look to the main elements we are going to need from Marty and create the main application.
Basic elements
What I like most about <a href=”http://martyjs.org/“ target=”_blank”>Marty.js</a> is that it has some very well defined elements, all of them with very clear responsibilities so you know exactly where to use them and what they can do for you. We are going to use v0.10 so the elements we need in our example application are:
<a href=”http://martyjs.org/guides/application/index.html” target=”_blank”>Application</a>
Responsible for registering and instantiating all the elements our application is going to need internally.
<a href=”http://martyjs.org/guides/application/index.html” target=”_blank”>Application container</a>
Wraps the main components and has an app prop where you can pass the Application defined so it’s accessible to the wrapped components via contexts.
<a href=”http://martyjs.org/guides/stores/index.html” target=”_blank”>Stores</a>
Where the state lives and where it should only change. Listens to actions from the dispatcher and decides the changes to be done in the state, forcing components to render again.
<a href=”http://martyjs.org/guides/action-creators/index.html” target=”_blank”>Action Creators</a>
Where a state change starts. They have a type of string which describes what it does. Stores listen to the dispatcher using them.
<a href=”http://martyjs.org/guides/queries/index.html” target=”_blank”>Queries</a>
Responsible for retrieving new state from outside of the application. Identical to Action Creators but named named different for organization porpoises.
<a href=”http://martyjs.org/guides/state-sources/index.html” target=”_blank”>State sources</a>
The state can be retrieved from many sources like API’s, web sockets, local storage and so. State sources are responsible of connecting to them and encapsulating all the complexity of each source type.
<a href=”http://martyjs.org/guides/containers/index.html” target=”_blank”>Containers</a>
They wrap components and listen to stores changes passing the state as props to them. Very useful to create stateless components as React’s <a href=”https://facebook.github.io/react/docs/interactivity-and-dynamic-uis.html#what-components-should-have-state” target=”_blank”>documentation recommends</a>.
<a href=”http://martyjs.org/guides/constants/index.html” target=”_blank”>Constants</a>
They identify action types loosely coupling action creators to stores.
Creating the main Application
So now that we know all the components involved let’s create the main application and register them.
# /app/frontend/application.cjsx

PeopleSection = require './flux/components/people/people_section'
ApplicationContainer = Marty.ApplicationContainer

$ ->
  MainApplication = Marty.createApplication () ->
    # Register necessary elements
    @register
      people:
        store: require './flux/stores/people_store'
        queries: require './flux/queries/people_queries'
        actionCreators: require './flux/actionCreators/people_action_creators'
        sources: require './flux/sources/people_api'

  # Application container to render
  appContainer = <ApplicationContainer app={new MainApplication()}>
    <PeopleSection/>
  </ApplicationContainer>

  # Render the application container in the desired DOM element
  React.render appContainer, document.getElementById('people_list')
So what’s going on here? Very simple:
-
We are creating a new Marty Application registering the store, queries, action creators and sources that we need in it. The
registermethod accepts any kind of id as the key of the element registered, but I like including them inside a parent element like people so they are well organized in case we use different domain elements. This way we can then refer to them inside components like@app.people.queries.findPeople(). - We create an ApplicationContainer which is going to use the previous MainApplication created and it wraps the component we need to render, in this particular case the PeopleSection.
- Finally we render the appContainer in the people_list div as if it was a plain React component we already know.
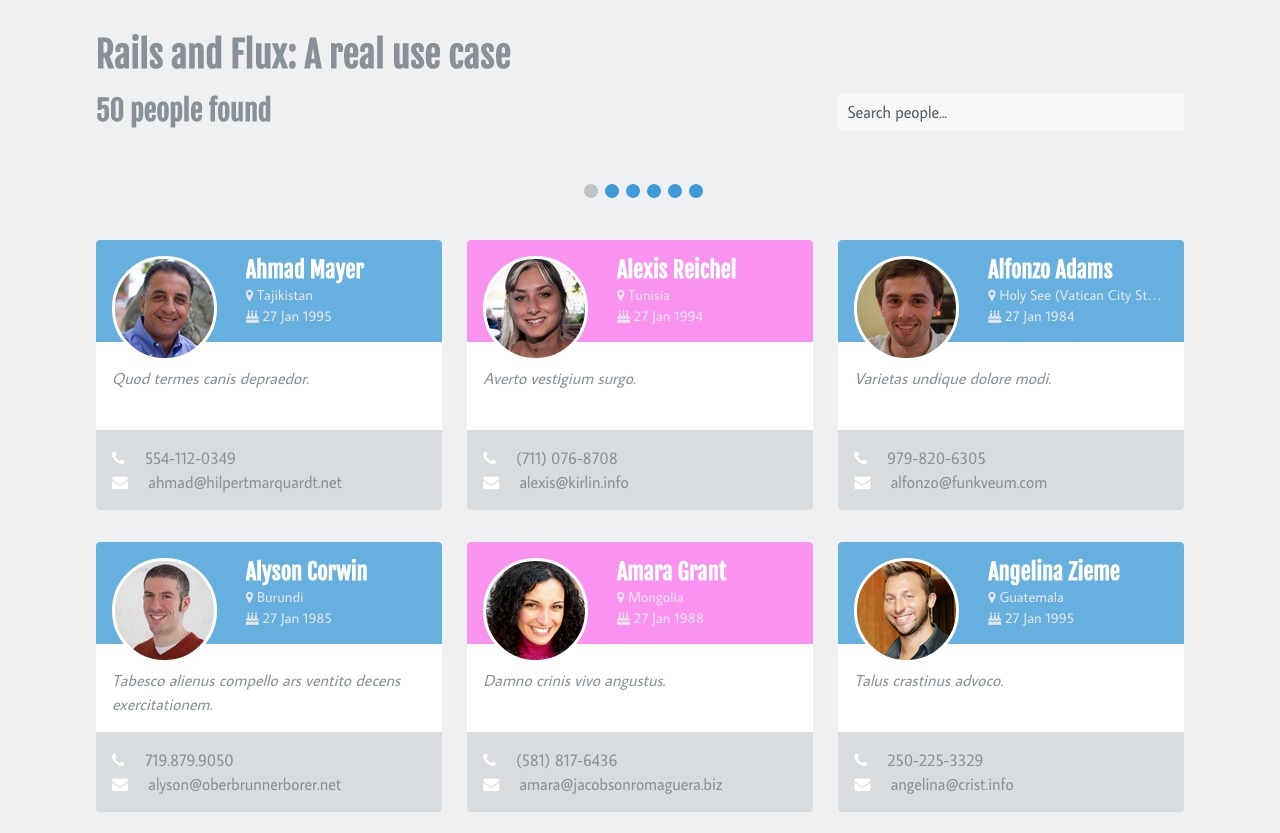
Our application is rendered and running! In the next post we will see how it works internally, how the main component receives the state as props to render and how we make it to react to the user’s interactions with the interface to change this data and render again with the new one. In the meanwhile don’t forget to visit the demo application and take a look to the source code so you can see how it works.
Happy coding!