This post belongs to the Building a simple Calendly clone with Phoenix LiveView series.
- Introduction.
- Generating the initial project and domain models.
- The event type selection page.
- Rendering the monthly calendar.
- Booking time slots for an event type.
- Managing event types, part one.
- Managing event types, part two.
- Managing event types, part three.
- Coming soon...
Live demo
Motivation
I’ve been using Elixir and Phoenix for the last six years to build from APIs to complete web applications using React and Elm on the front-end, being Elm my weapon of choice primarily. Since LiveView came out, I have played around with it a couple of times, first to build an ant farm and second to set up a headless CMS. However, I never ended up getting hooked by it, and I kept relying on Elm to build my front-ends. But when Phoenix v1.6 and LiveView v0.17 came out, my feelings about LiveView changed utterly, and I couldn’t resist making something more extensive to test out all its new features, making me finally understand all of its power.
Why Calendly?
When I want to dive deep into new technology, I like building a small clone of a popular service to see how far I can get with it. Scheduling services like Calendly have become very popular, and often people share their public calendar links so others can select the ideal date and time for a meeting. Therefore, after examining its UI, I thought it would be a fun pet project and an excellent tutorial to share.
What are we going to build?
Since Calendly has tons of features, and this tutorial is about Phoenix LiveView, we will focus on its core, which is managing even types and scheduling events. Our application will consist of two different parts:
- The sharable public page where invitees can select an event type, a date, and a slot to schedule a meeting with us.
- The private admin site, protected by Basic HTTP authentication, where we can create and edit event types and manage all the scheduled events.
Regarding LiveView, we are going to rely on some of its more powerful features such as:
- Live sessions.
- Live components.
- Function components.
- JS hooks.
- JS commands.
Here are some screenshots of the final result:
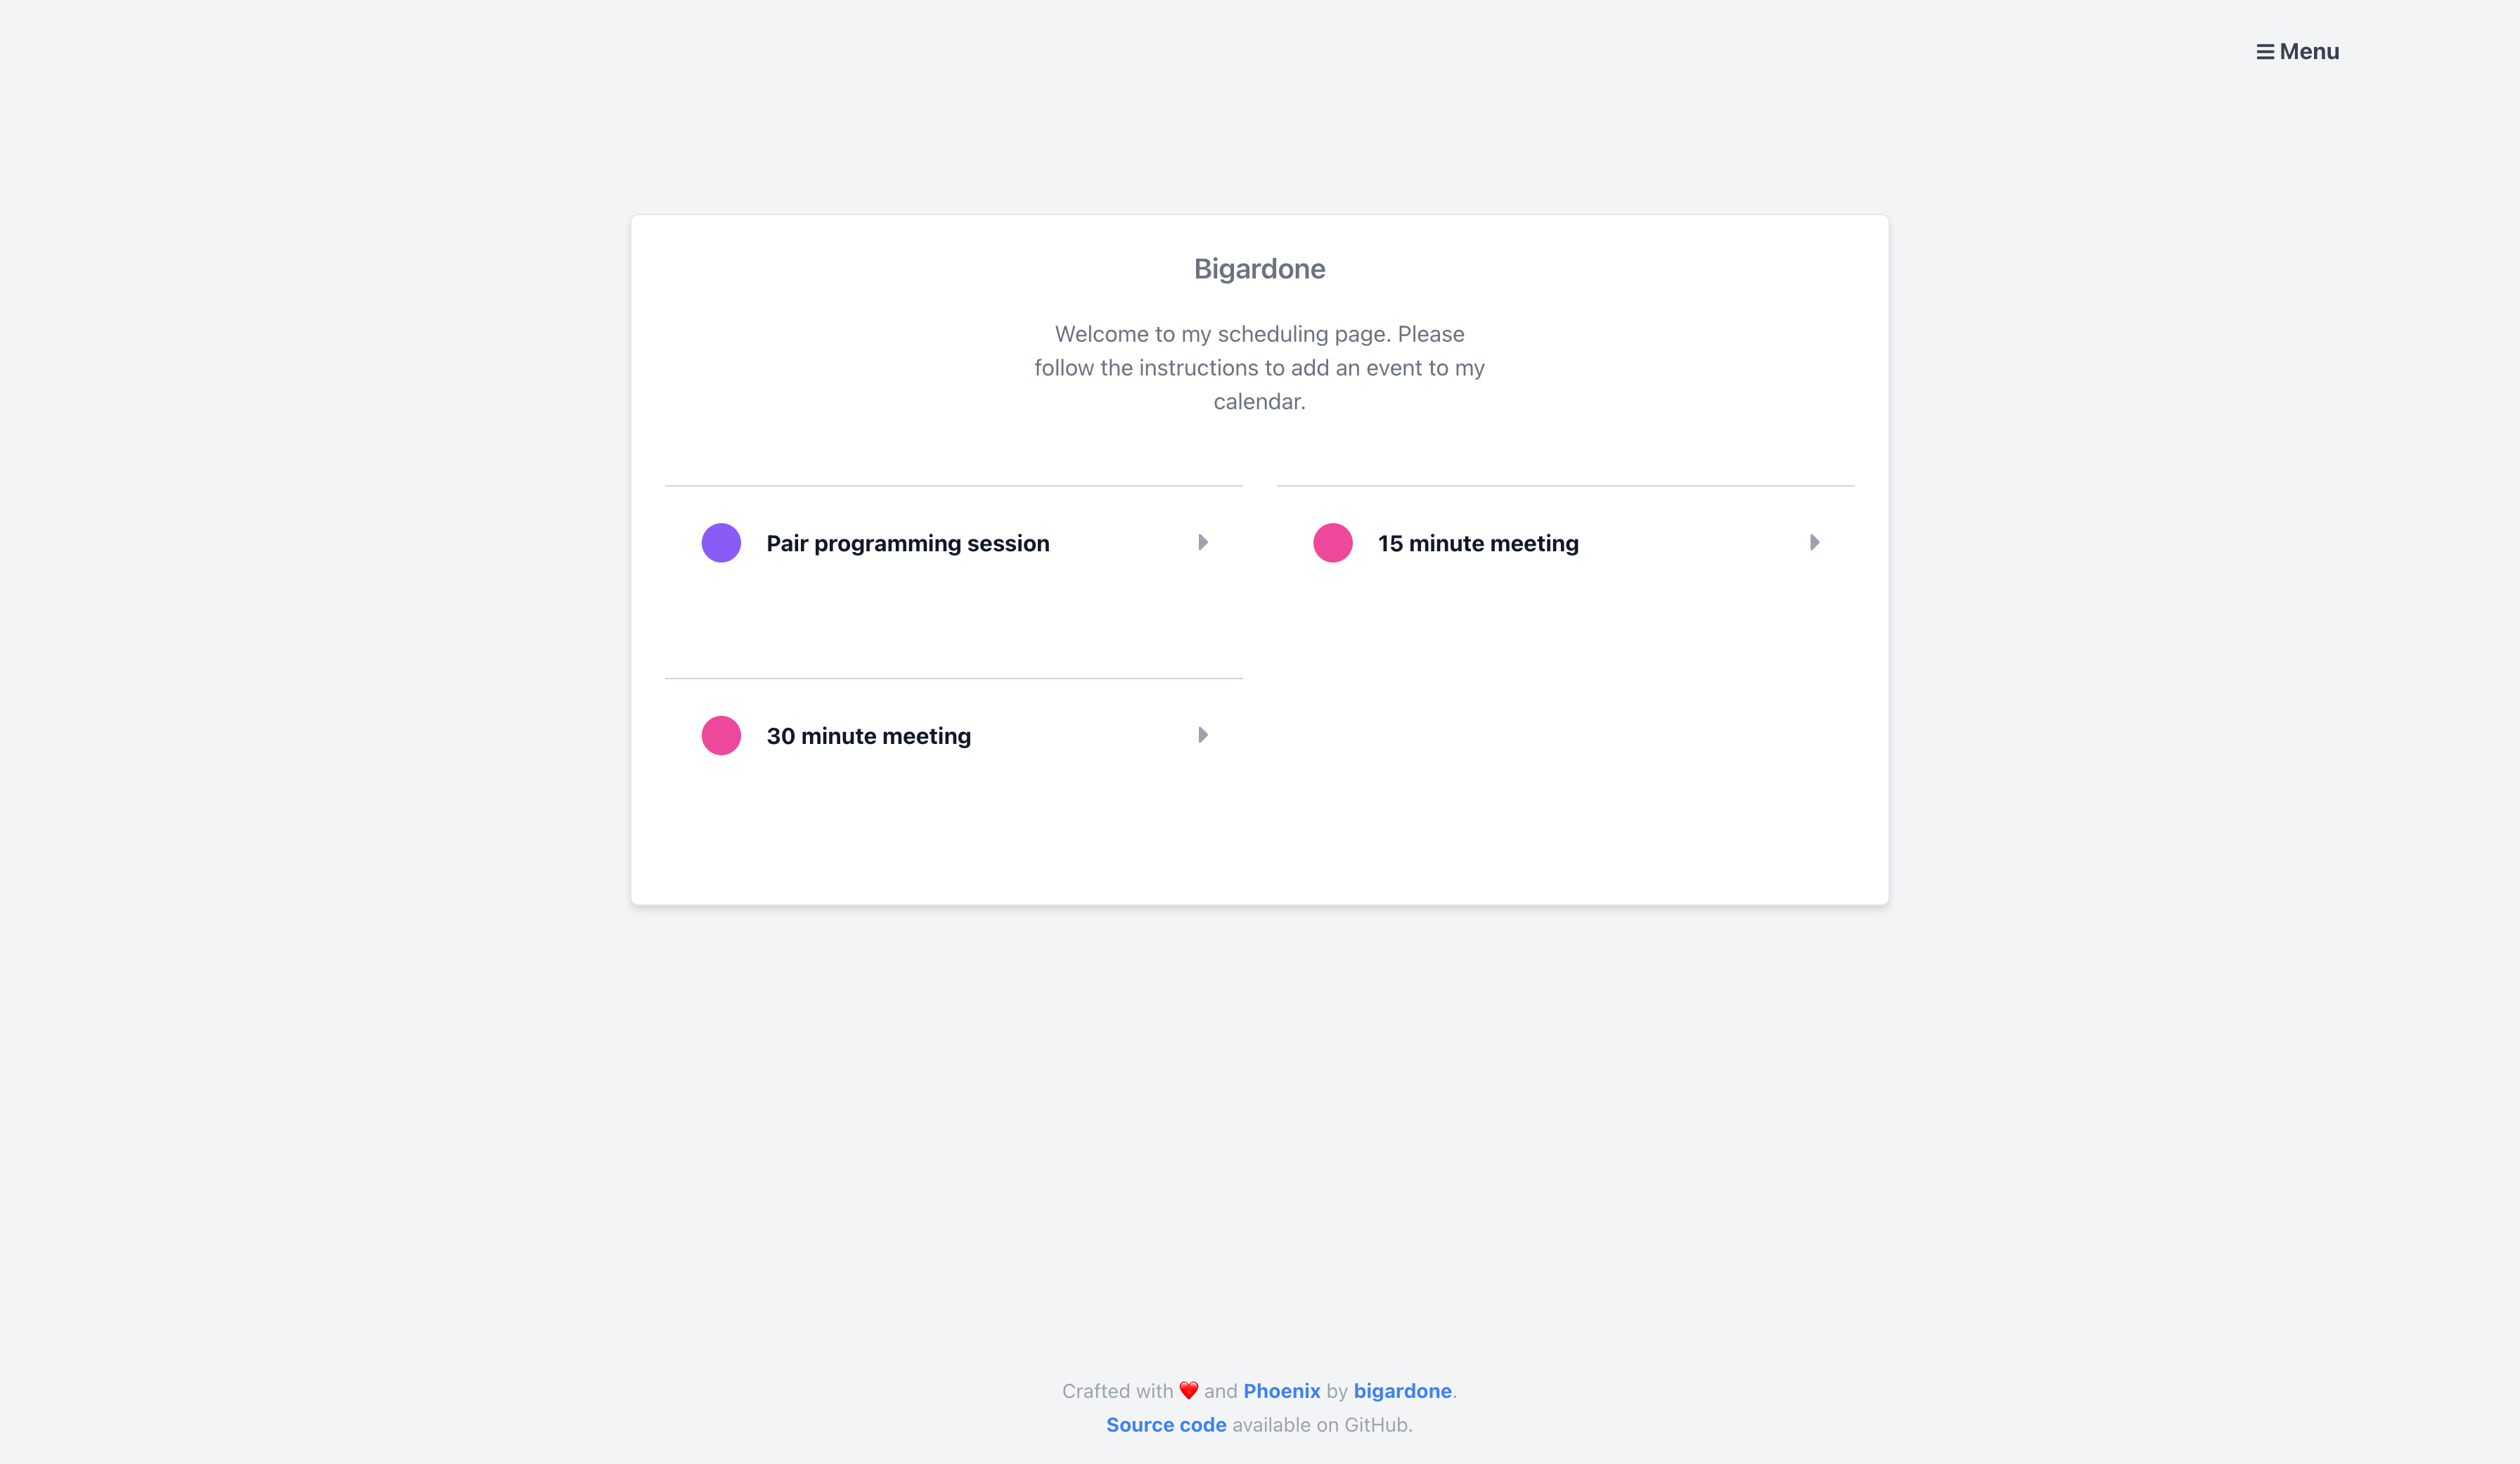
The home page.
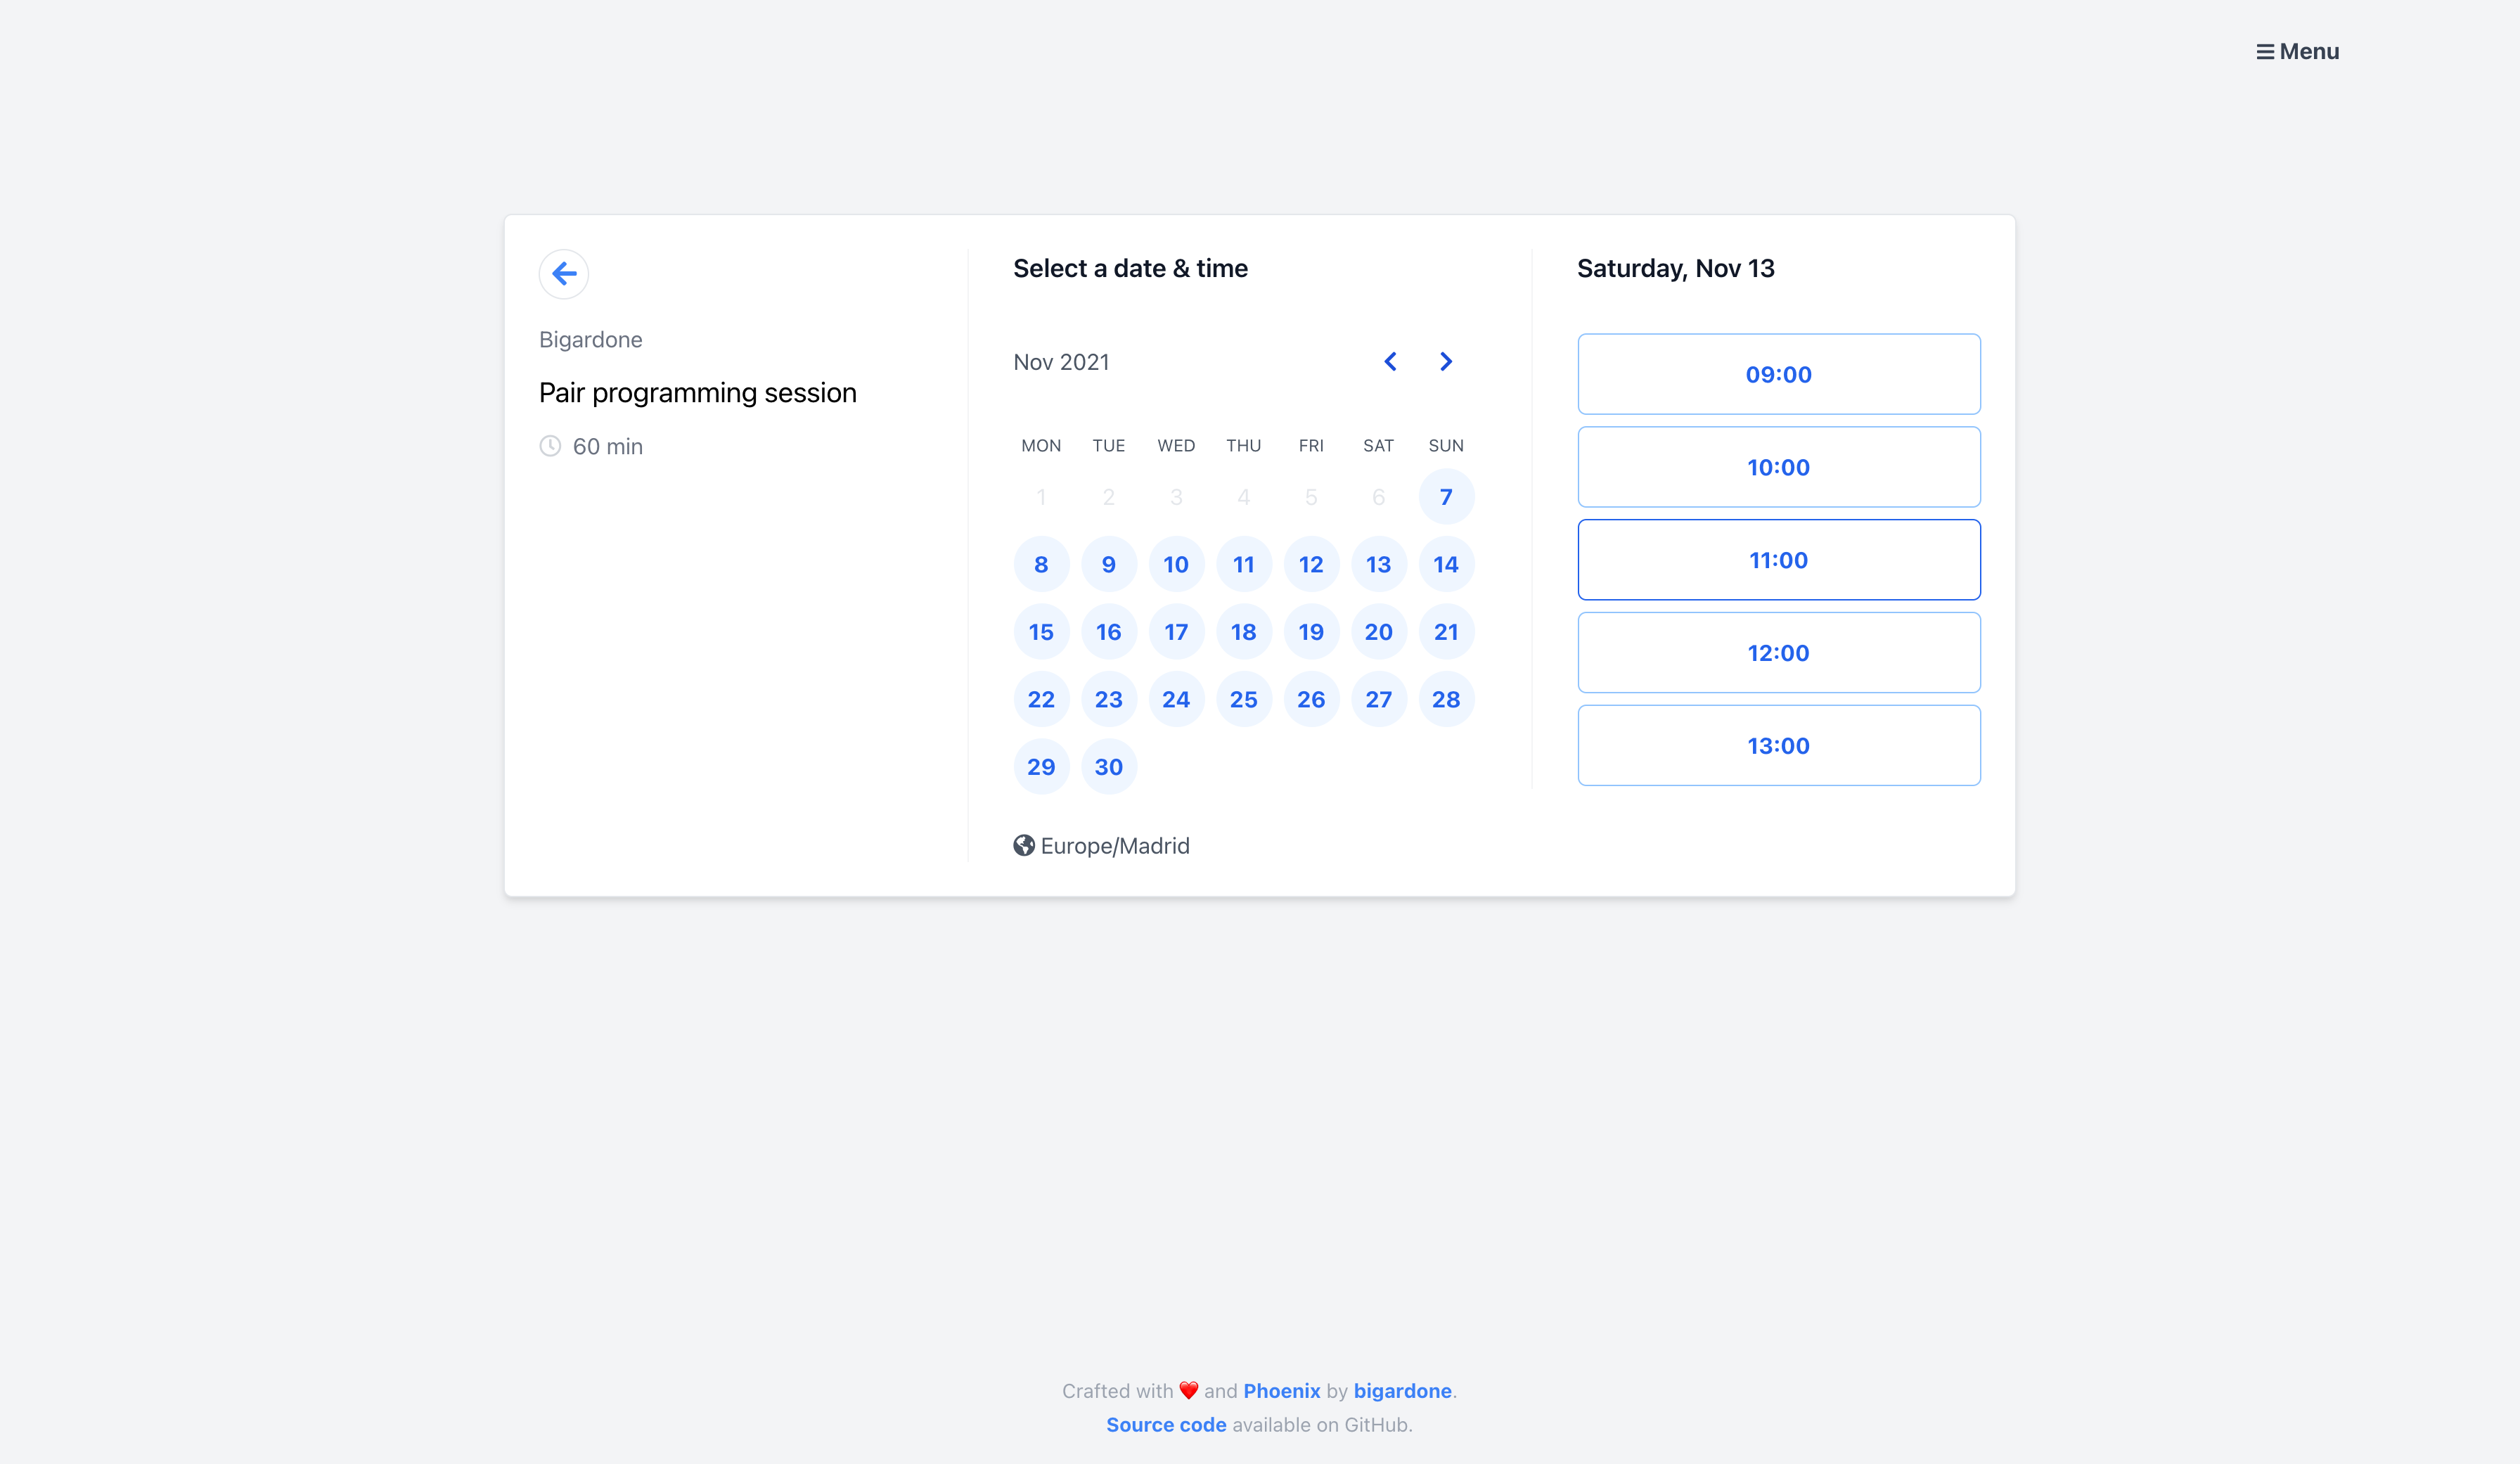
The calendar page.
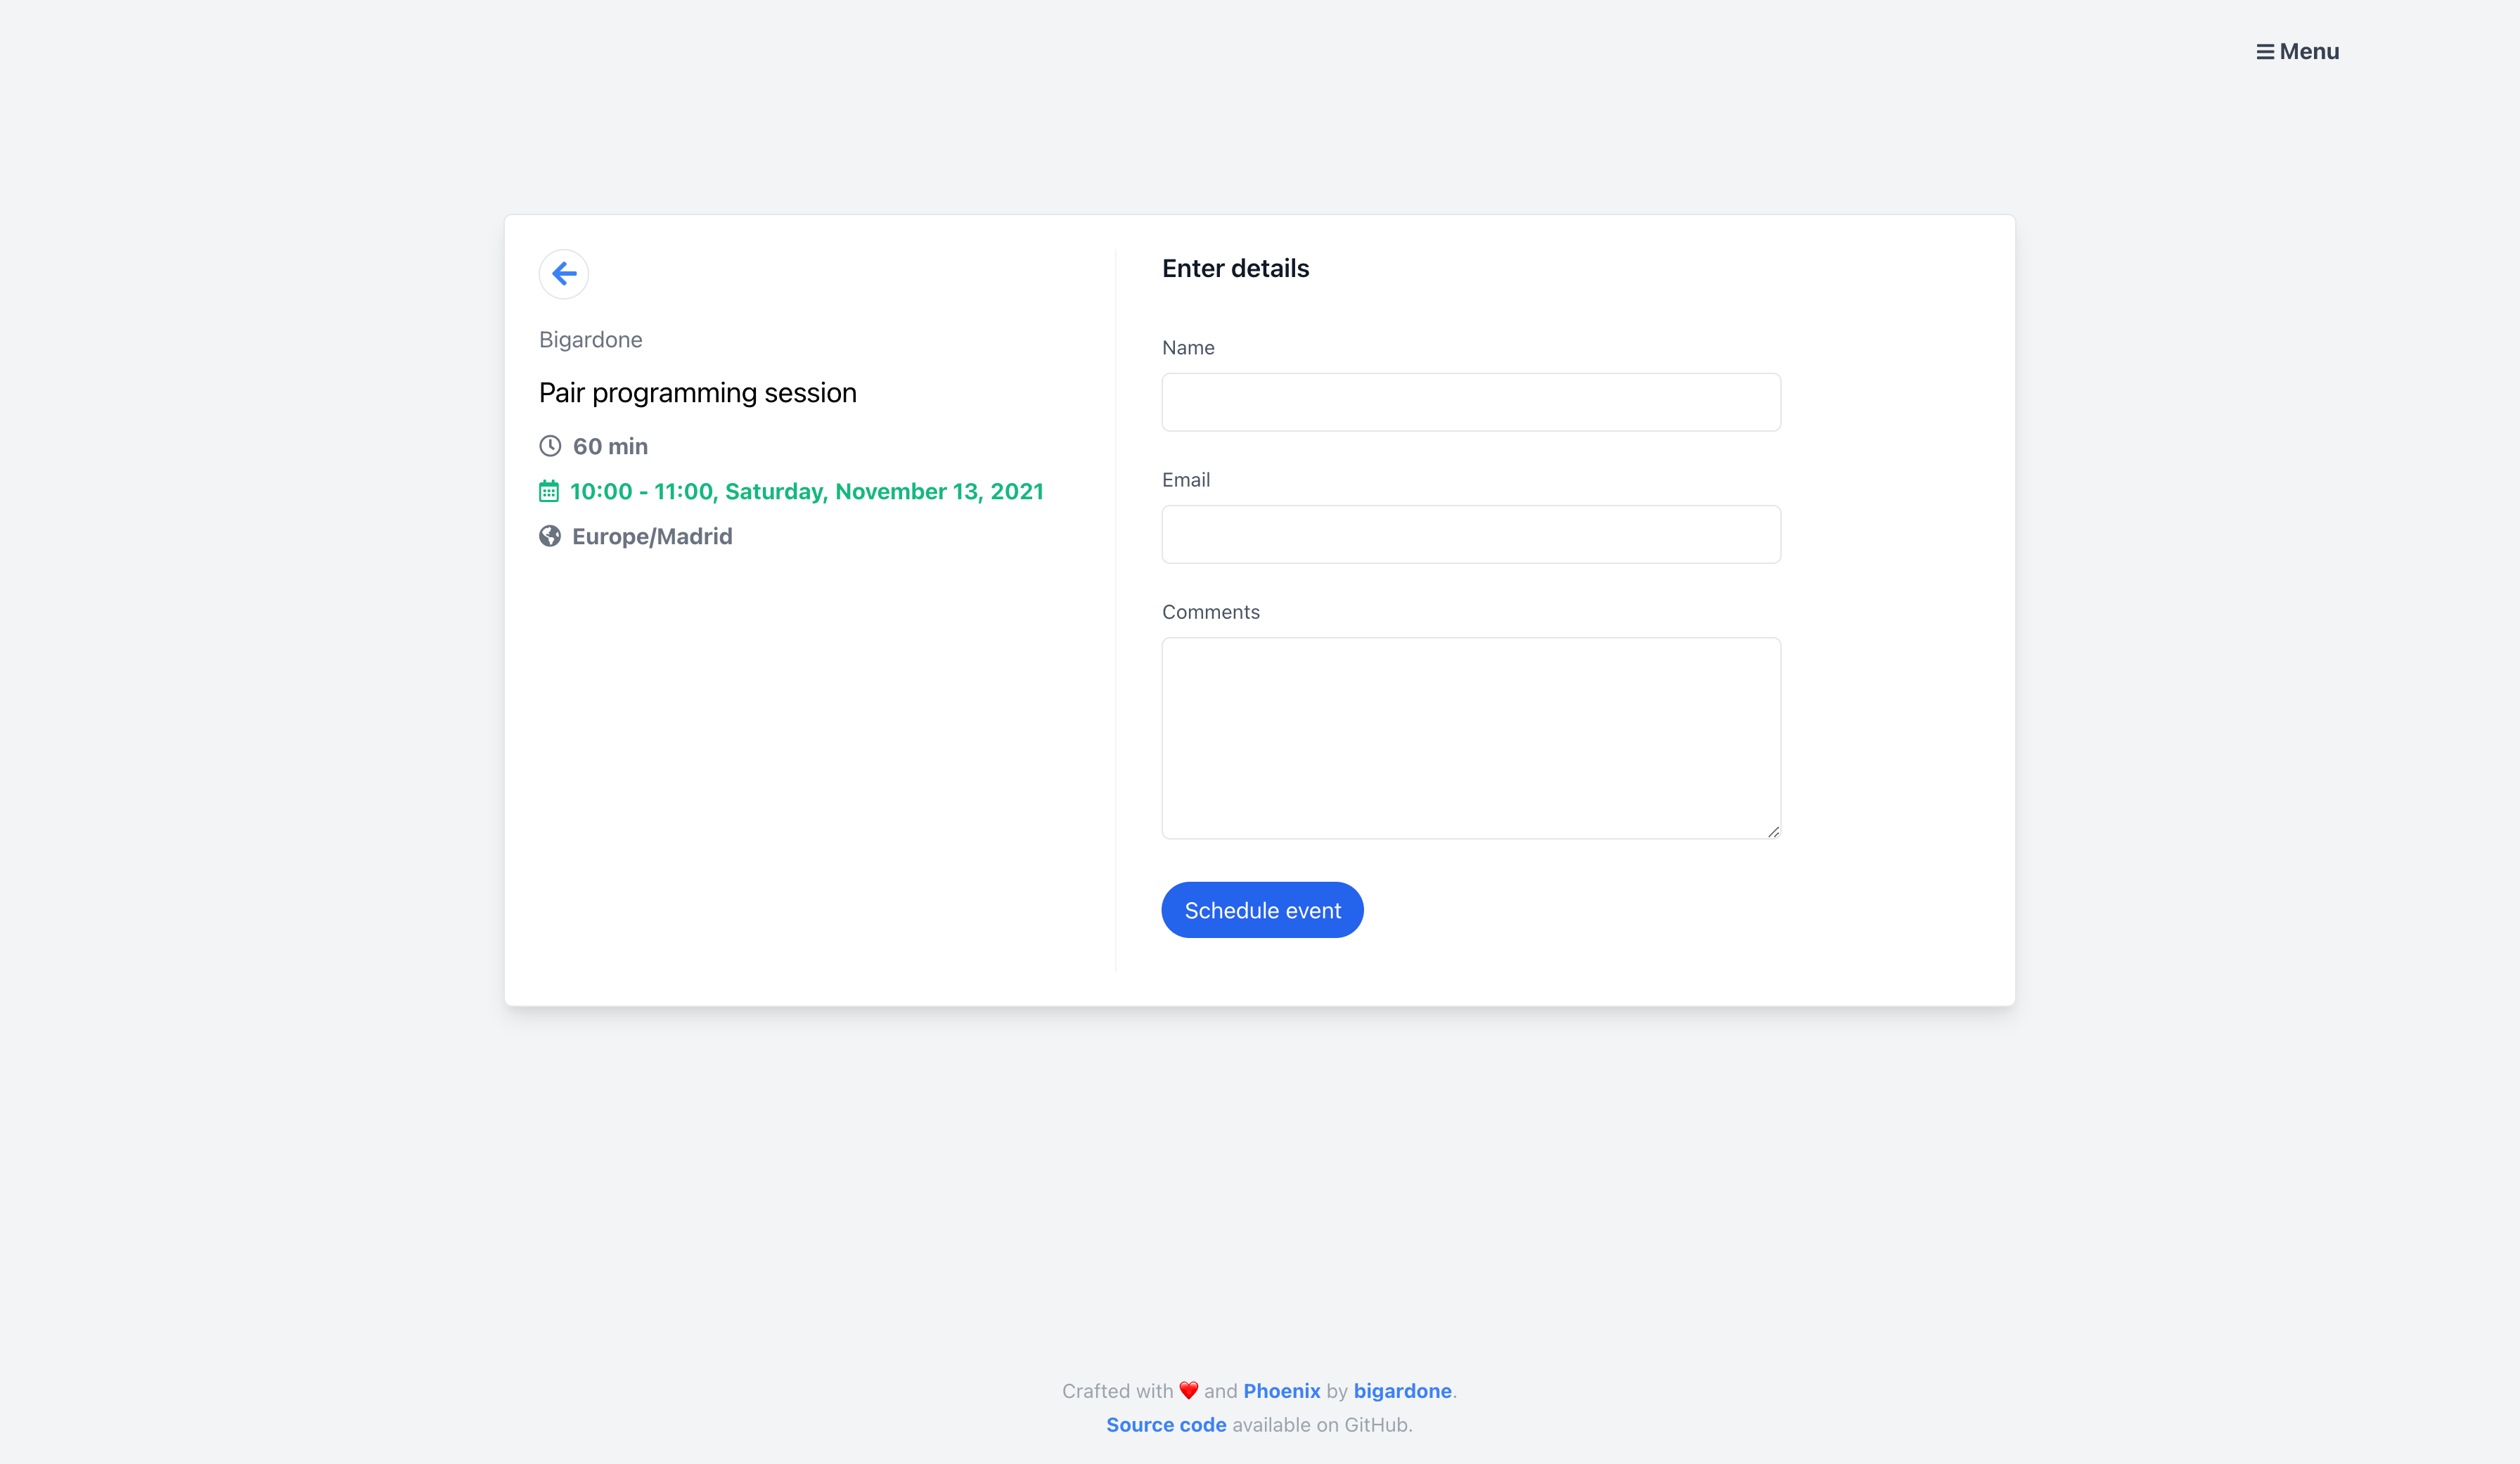
The schedule event page.
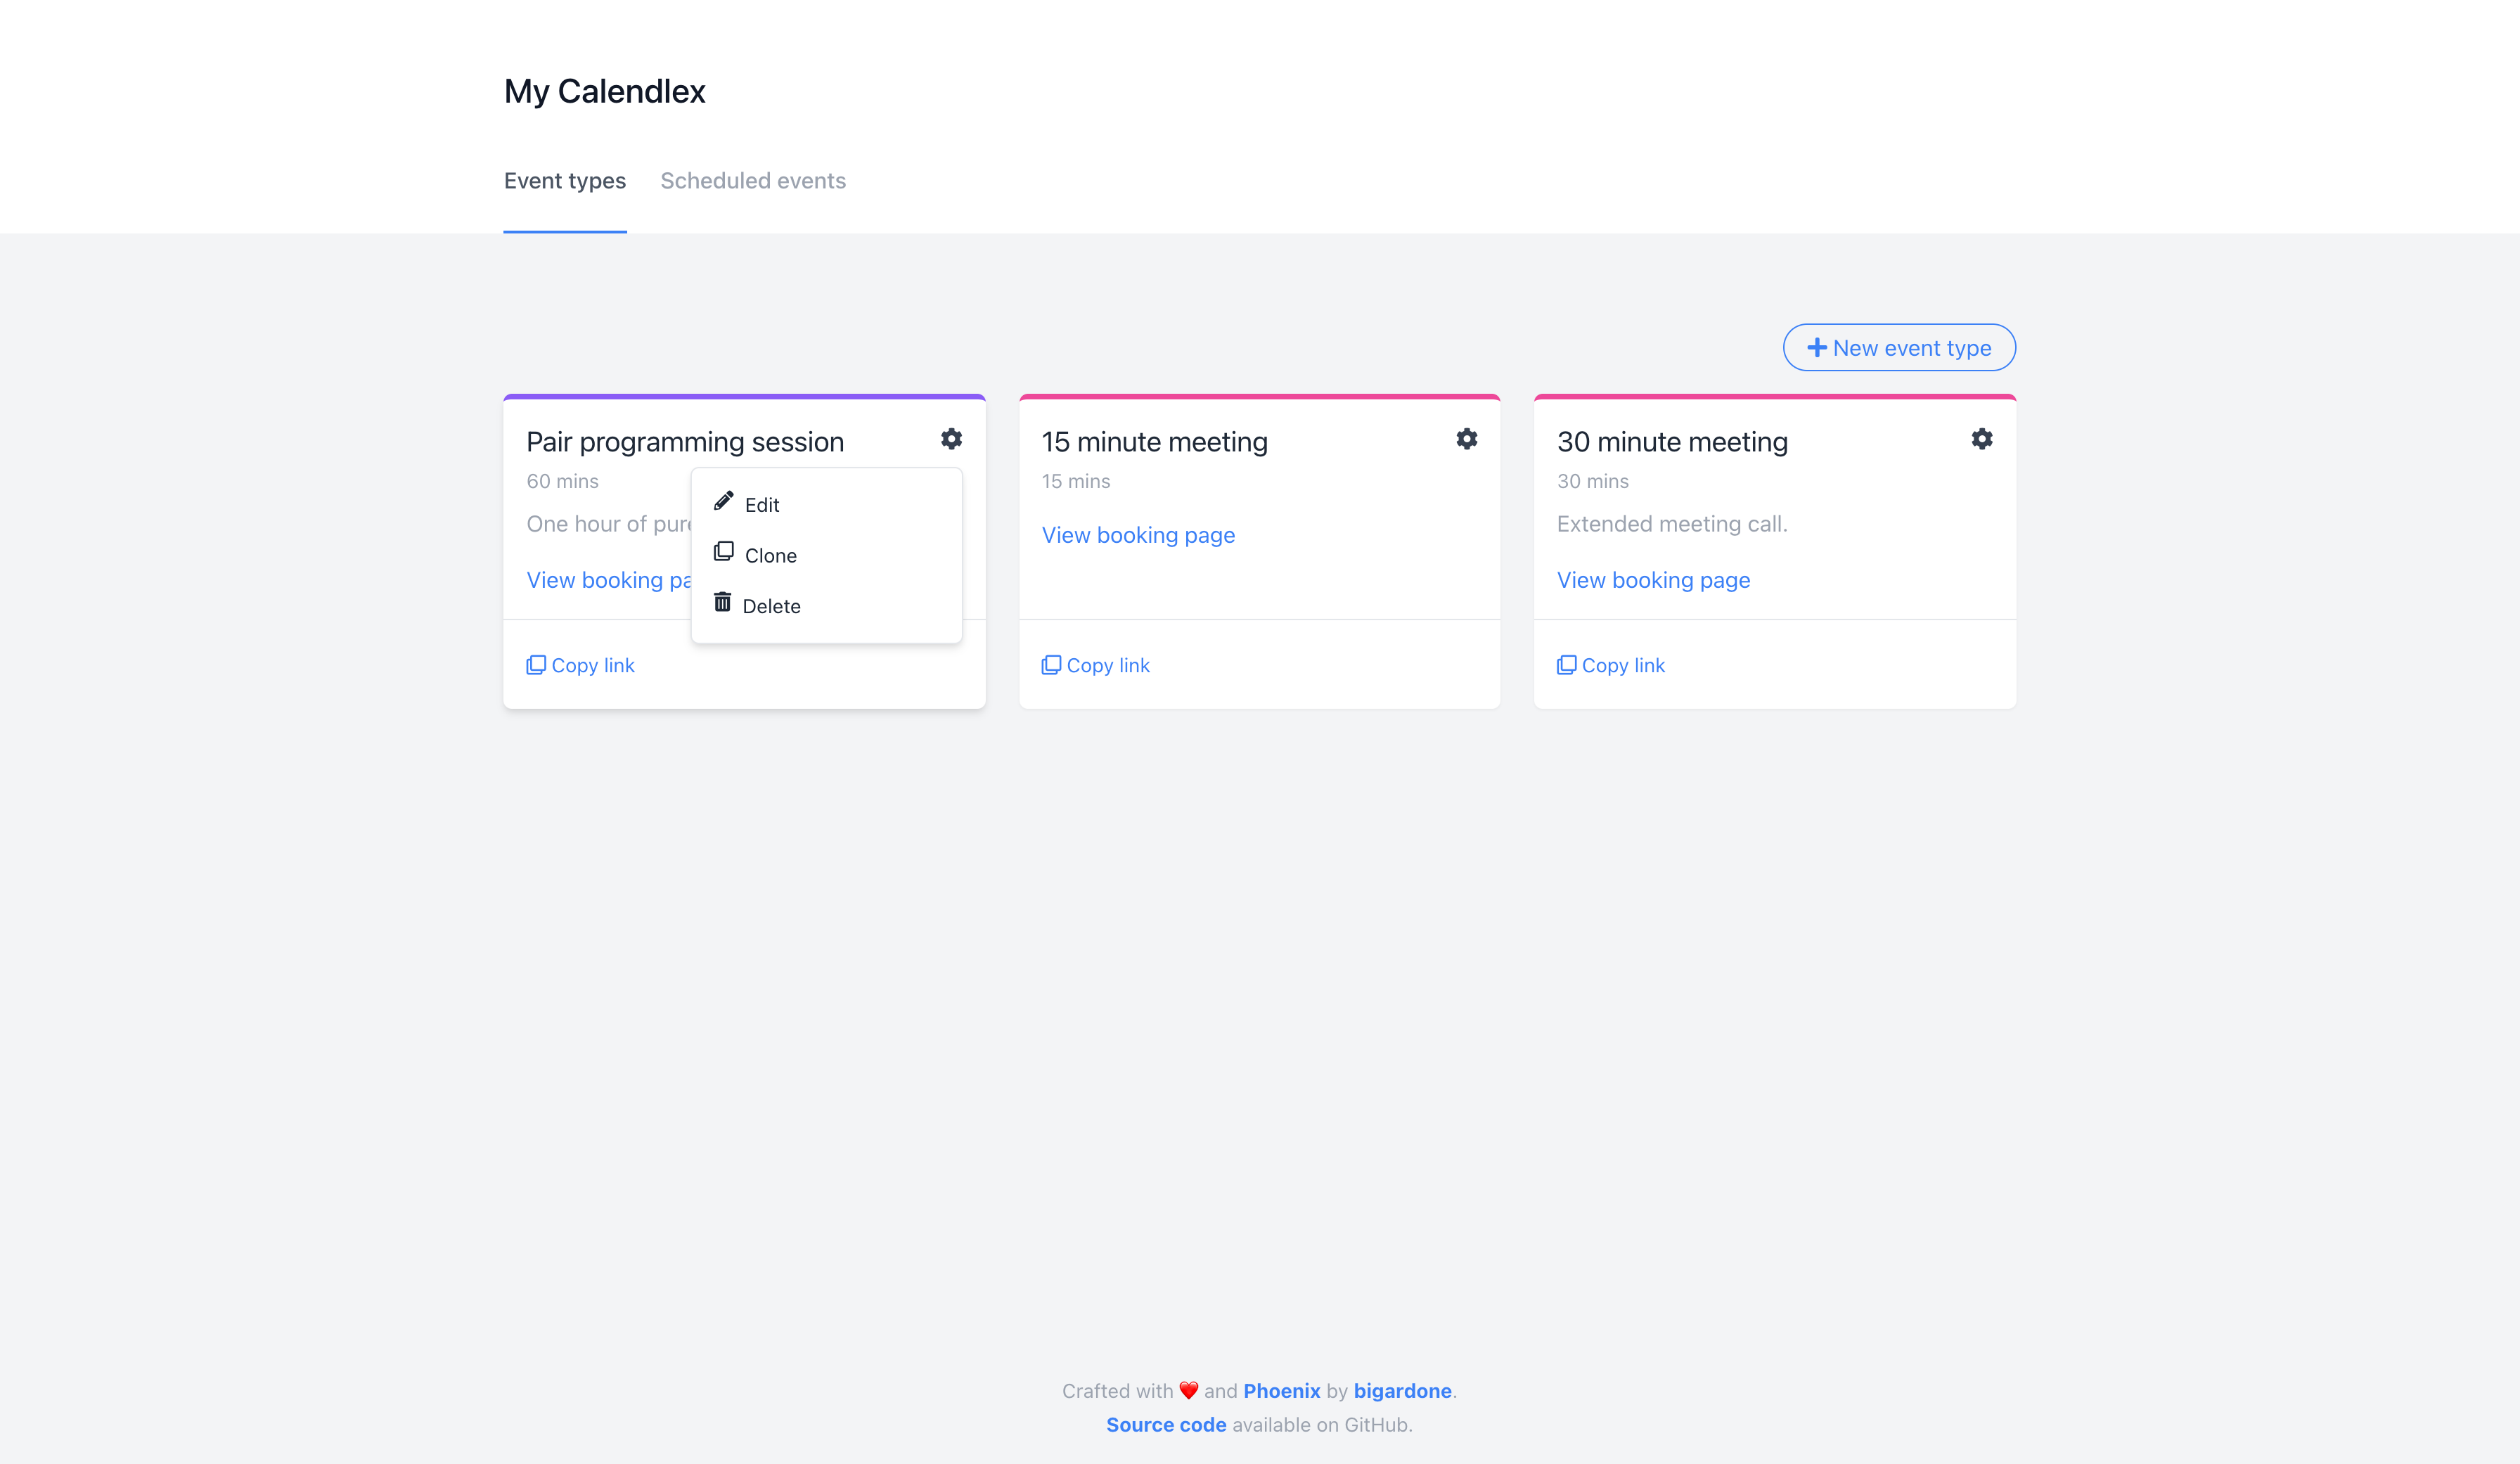
The event types admin page.
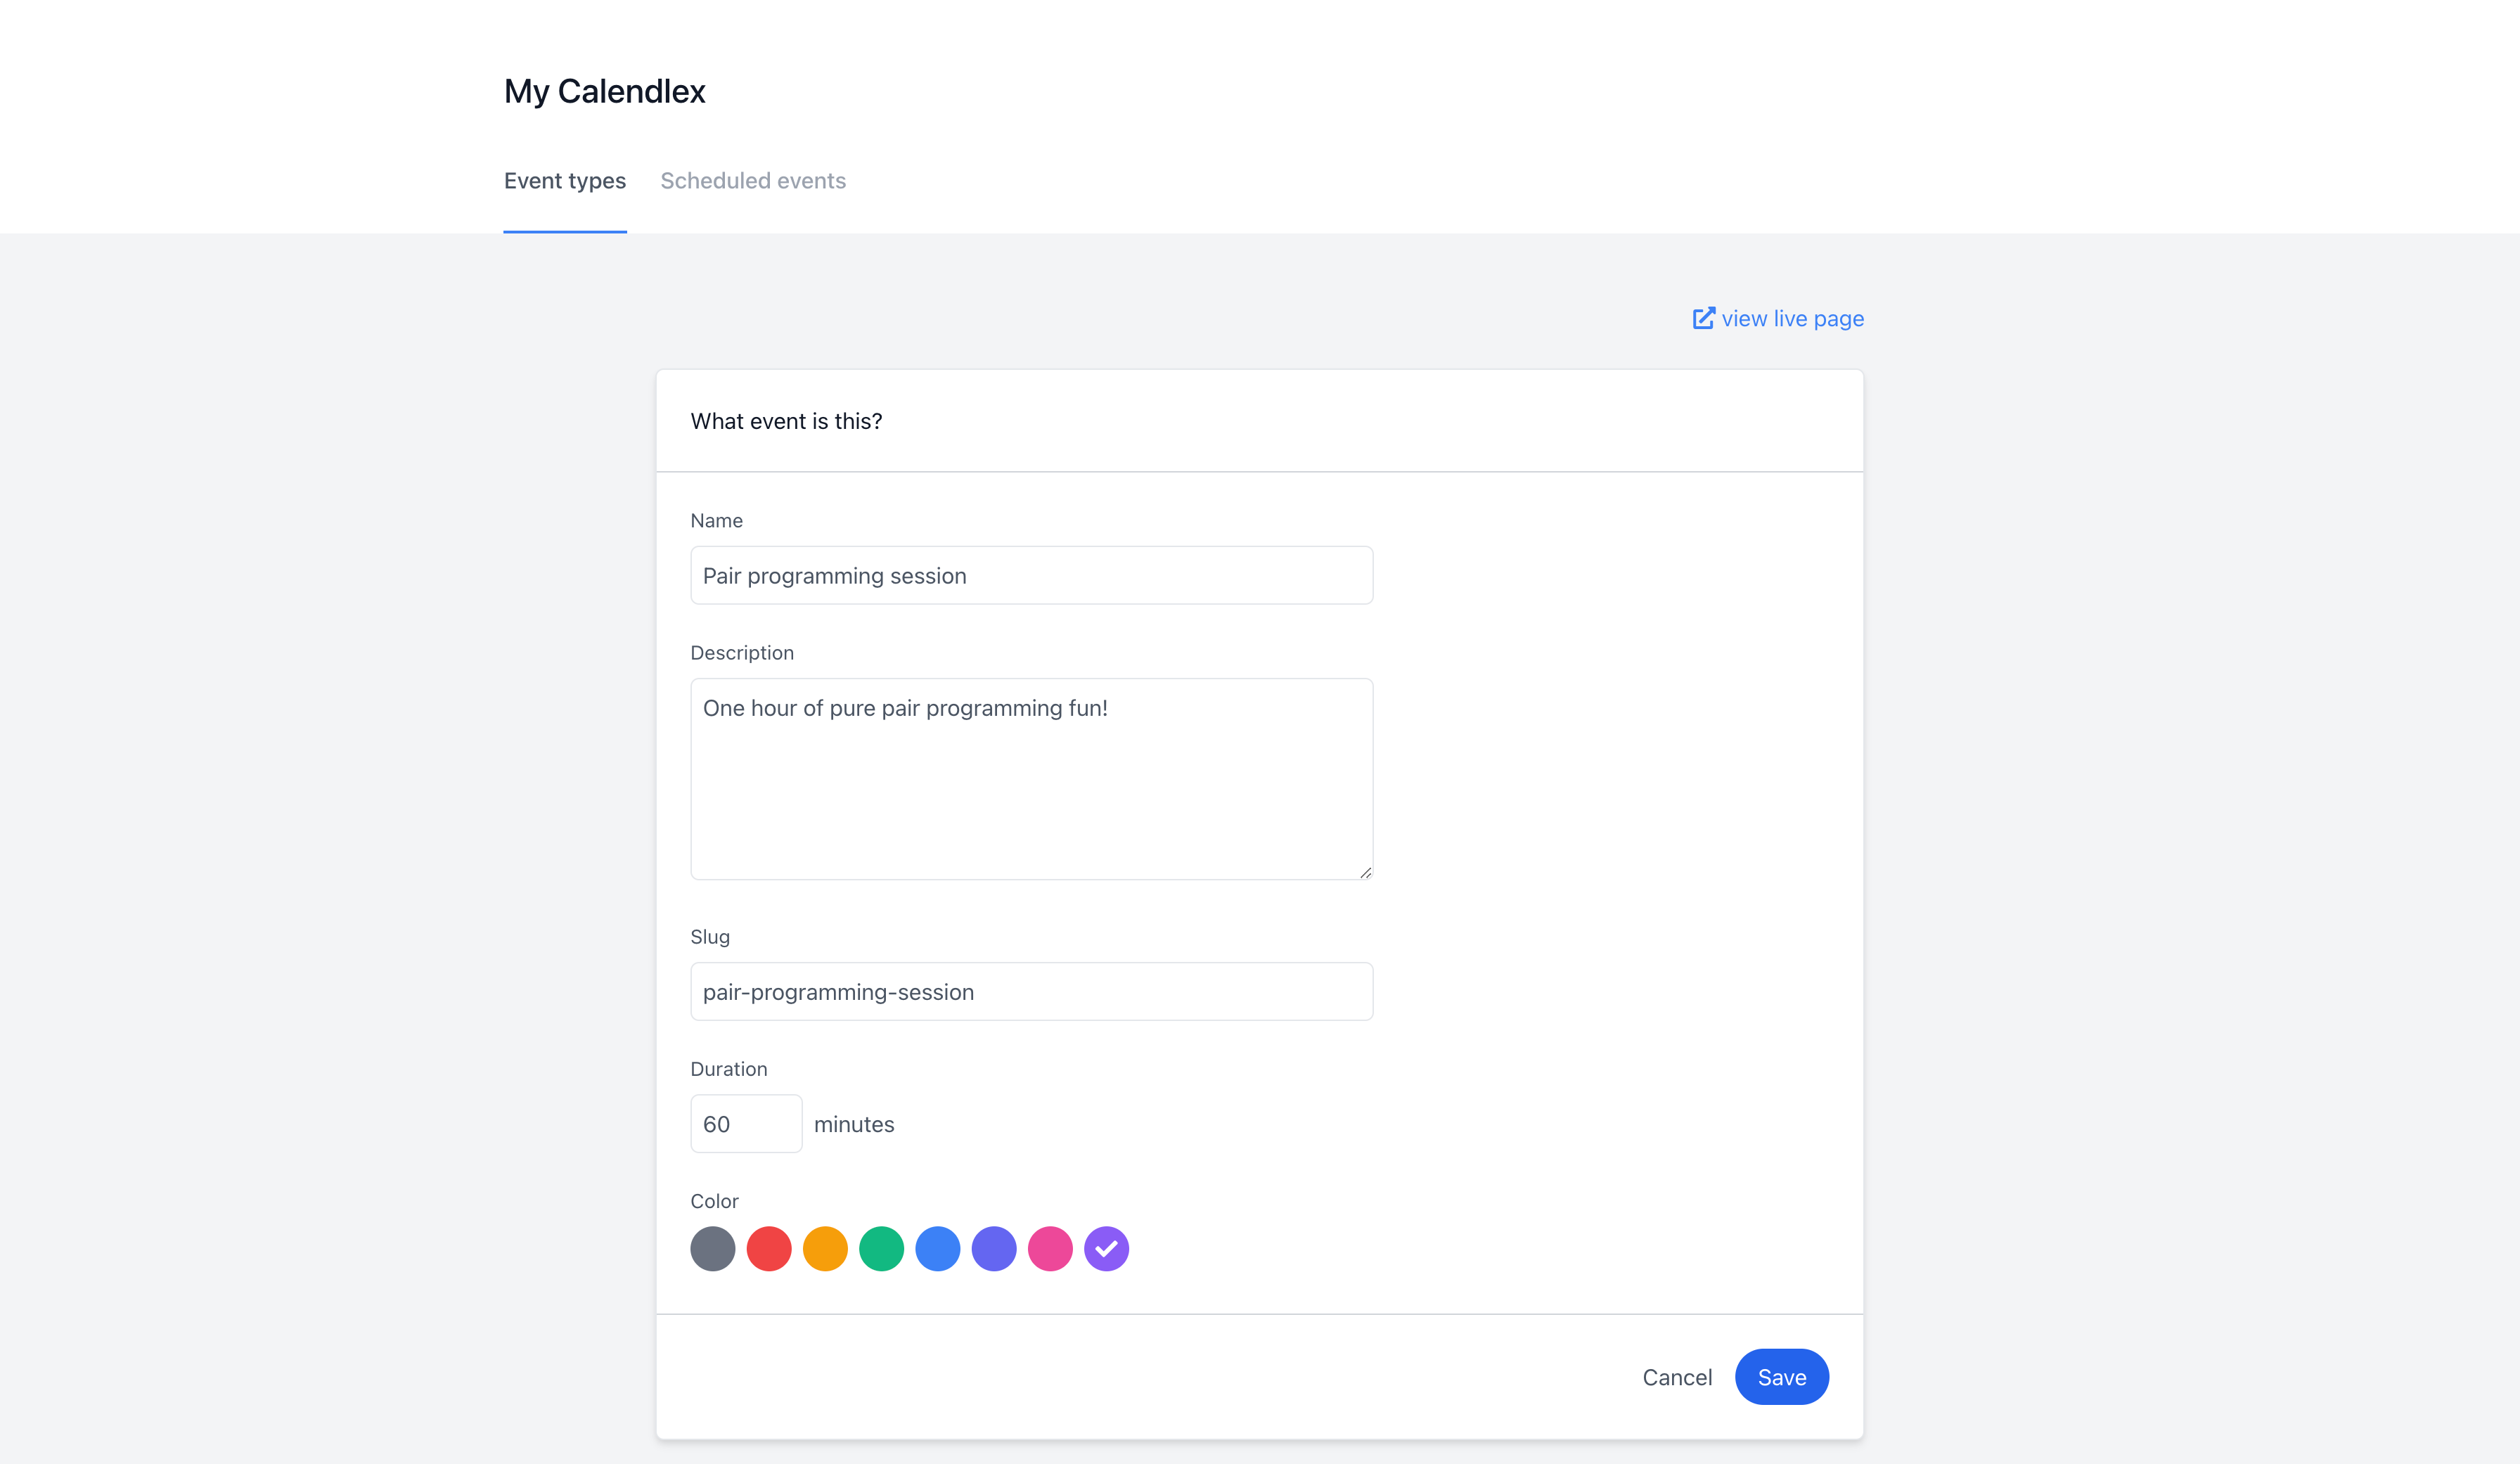
The create/edit event type admin page.
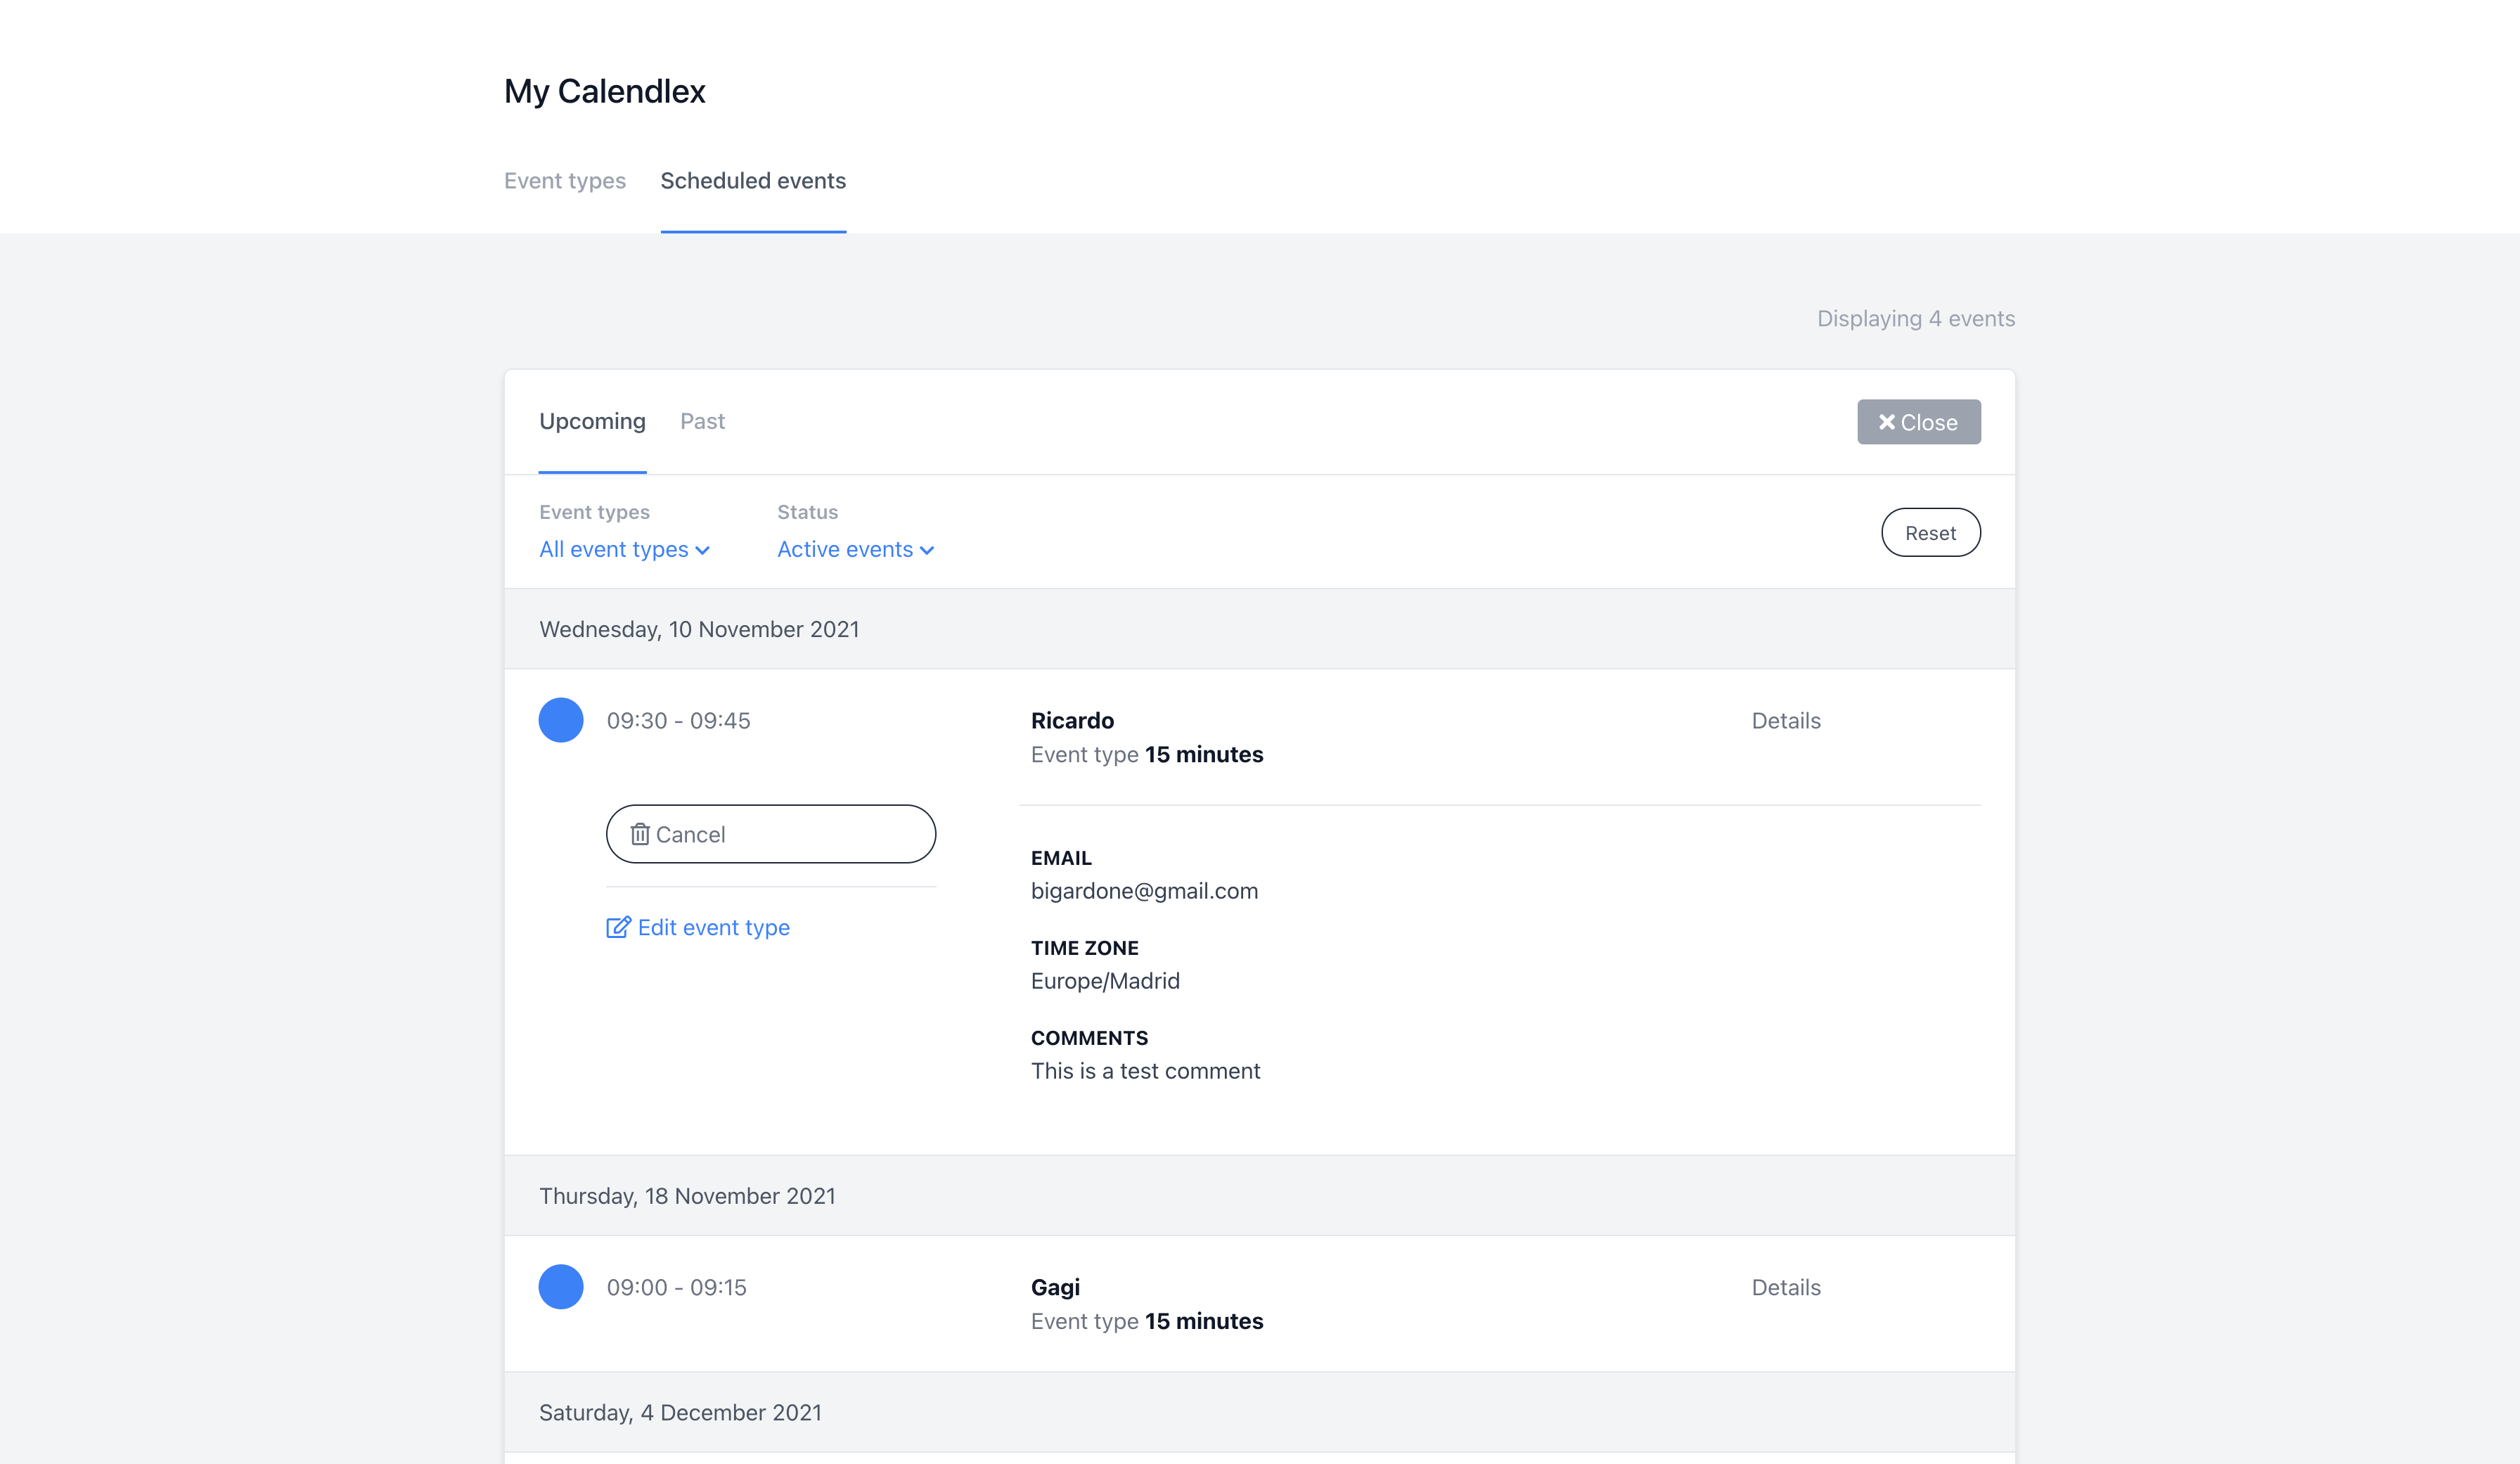
The scheduled events admin page.
In the next part of the series, we will jump into the action by creating a new Phoenix project and generating the necessary Ecto schemas for modeling both event types and events. In the meantime, you can check the end result here, or have a look at the source code.
Happy coding!